How to Turn Off Master Bedroom Light Without Having to Get Out of Bed
If you’re looking for ways to turn off master bedroom light without having to get out of bed physically, you’re in luck! A few options allow you to turn off the light comfortably snuggled under the covers. In this article, we’ll explore other ways to turn off the light in your master bedroom without leaving the comfort of your bed. Whether you’re looking for a simple solution or something more high-tech, there is an option that will work for you.
How to Turn off bedroom light with home automation
Home automation is one of the best ways to turn off your bedroom lights. A smart light switch, smart bulbs, smart plugs, or a combination of the three can be used. You’ll be able to turn off the bedroom lights while in bed, no matter which smart products you choose.
Let’s have a look at how you can do this.
If your bedroom has three light bulbs and is controlled by a single switch, you can easily swap to one Smart light switch with a smart light bulb to do this automation.
It is not only less expensive to use a smart light switch, but also you get to keep the existing light switch functionality.
When using smart bulbs, make sure the light switch that controls them is always turned on. Your smart bulbs will not work if someone accidentally turns off the light switch. This is because smart light bulbs all require electricity to function correctly.
You will need:
- Smart light switch– Using a Kasa Smart Light Switch is cheap
- Smartphone/tablet- Install the Kasa Smart app from Google Play or the Apple App Store. The Kasa app will give instructions for installing and configuring the smart light switch.
- Wi-Fi connection- Kasa Smart Light Switch communicates via Wi-Fi with your phone and other devices.
- Smart speaker- If you want to turn off your bedroom lights with your voice, you’ll need a smart speaker in addition to your phone. You can control your smart light switch entirely through the Kasa Smart app if you do not want to do this. The Kasa Smart Light Switch works with Amazon Alexa and Google Home so you can use either!
Setting it up
- Turn off your electricity.
- Install your smart light switch and connect it using the instructions in the Kasa Smart app to turn off your bedroom lights with a single click.
- Use the Kasa Smart App to set up some basic automation, such as setting a timer to turn on or off your bedroom lights and creating a schedule with days and times you want your bedroom lights to turn on or off.
How to Easily Turn Off Bedroom Light – Using Google and Alexa
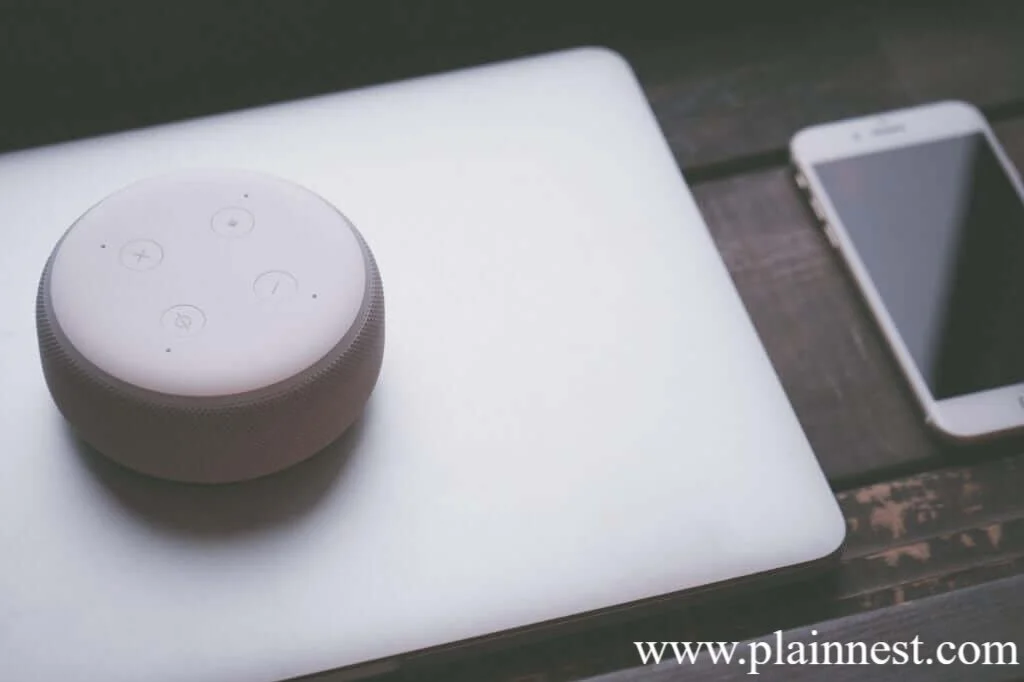
Image Credit: www.pexels.com
Connect your smart light switch to an intelligent speaker. This way, you don’t need your mobile to turn off your bedroom lights. You can say, “OK, Google, turn off bedroom lights.” Amazon Alexa works well too
Follow the steps to connect Google Home to the smart light switch
- Click on your profile in the top right corner of the Google Home App
- Click on “Assistant Settings”
- Click “+Add”
- Click on “Link a smart home device.”
- In the search bar, type “Kasa,” and you will see “TP-Link Kasa” Click on it.
- You will then see the Kasa Smart login page. Enter the email address and password used to create your Kasa Smart account, and then authorize Google Home to sync.
- Your smart light switch should appear as a device on your Google Home landing page after you’ve authorized Kasa.
- Check by saying, “OK, Google, turn off the bedroom light,”
Follow the steps to connect Amazon Alexa to the smart light switch
- Open the Alexa App
- Click on the three lines
- Click on “Skills and Games”
- Click on the search bar
- Type in “Kasa skill”
- From the search results, select TP-LINK Kasa and enable that skill.
- Once Kasa is authorized, your smart light switch should appear as a device on your Alexa home page.
- Check by saying, “Alexa, turn off the bedroom light.”
Automating smart plugs and smart bulbs
You may want to use a smart light switch for most of the lights in your bedroom, but you also want to automate two lamps on either side of your bed.
Smart plugs can be used for the lamps near your bed. They are inexpensive and straightforward to install, transforming ordinary lamps into smart lamps.
The smart plugs and smart bulbs are both simples to set up using a smartphone app. Once set up, you’ll have to group these products together and name the group “Bedroom lights.” So when you say, “OK, Google, turn off bedroom lights,” the smart light switch, smart plugs, and smart bulb all turn off simultaneously.
Here is how to create a group on Google Home App
- Click the “+” symbol at the top left
- Click “Set up device.”
- Then Set up new devices (or Have something already set up? if you’ve already set up your smart plug or smart bulb)
- Choose “Home”
- Google Home App will show “looking for the device.”
- Once located, you will be prompted to select the room to which your device should be added.
- Then choose “Bedroom.”
- After you’ve added all of your devices to “Bedroom,” you should be able to turn them all off at once.
Here is how to create a group on Amazon Alexa App
- Click Devices in the lower right corner, followed by the “+” symbol in the upper right corner.
- Select “Add Group”
- Then either select bedroom or type in the group name and click Next
- Choose how you want the smart light switch, smart plugs, and smart light bulbs to be grouped.
In conclusion, there are several ways to turn off the light in your master bedroom without getting out of bed physically. Whether you prefer a simple solution or a more high-tech option like a smart light switch or voice-activated assistant, there is an option that will work for you. By choosing one of these methods, you can easily turn off the light from the comfort of your bed, saving you the hassle of getting up and potentially disturbing your sleep.